Step One
Connect a 8GB or larger USB key to your computer then launch the Mac App Store from your dock.

Step Two
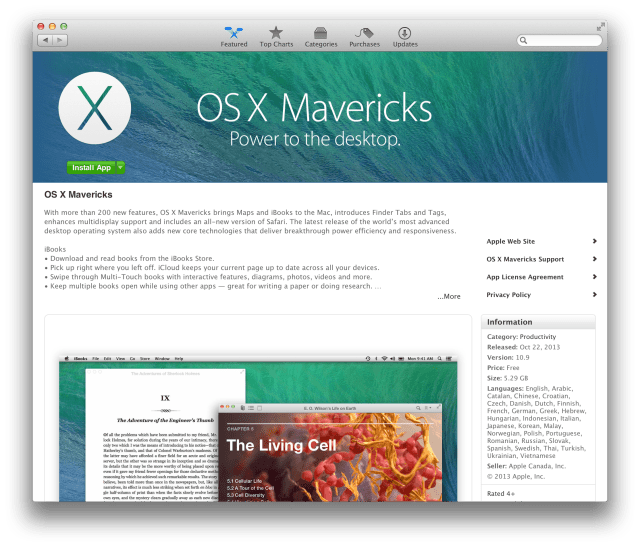
Navigate to the OS X Mavericks application page and click the Install button. If you are already on, or have already downloaded Mavericks, you may need to click the Download button.

Step Three
Launch Disk Utility from the Applications:Utilities folder.

Step Four
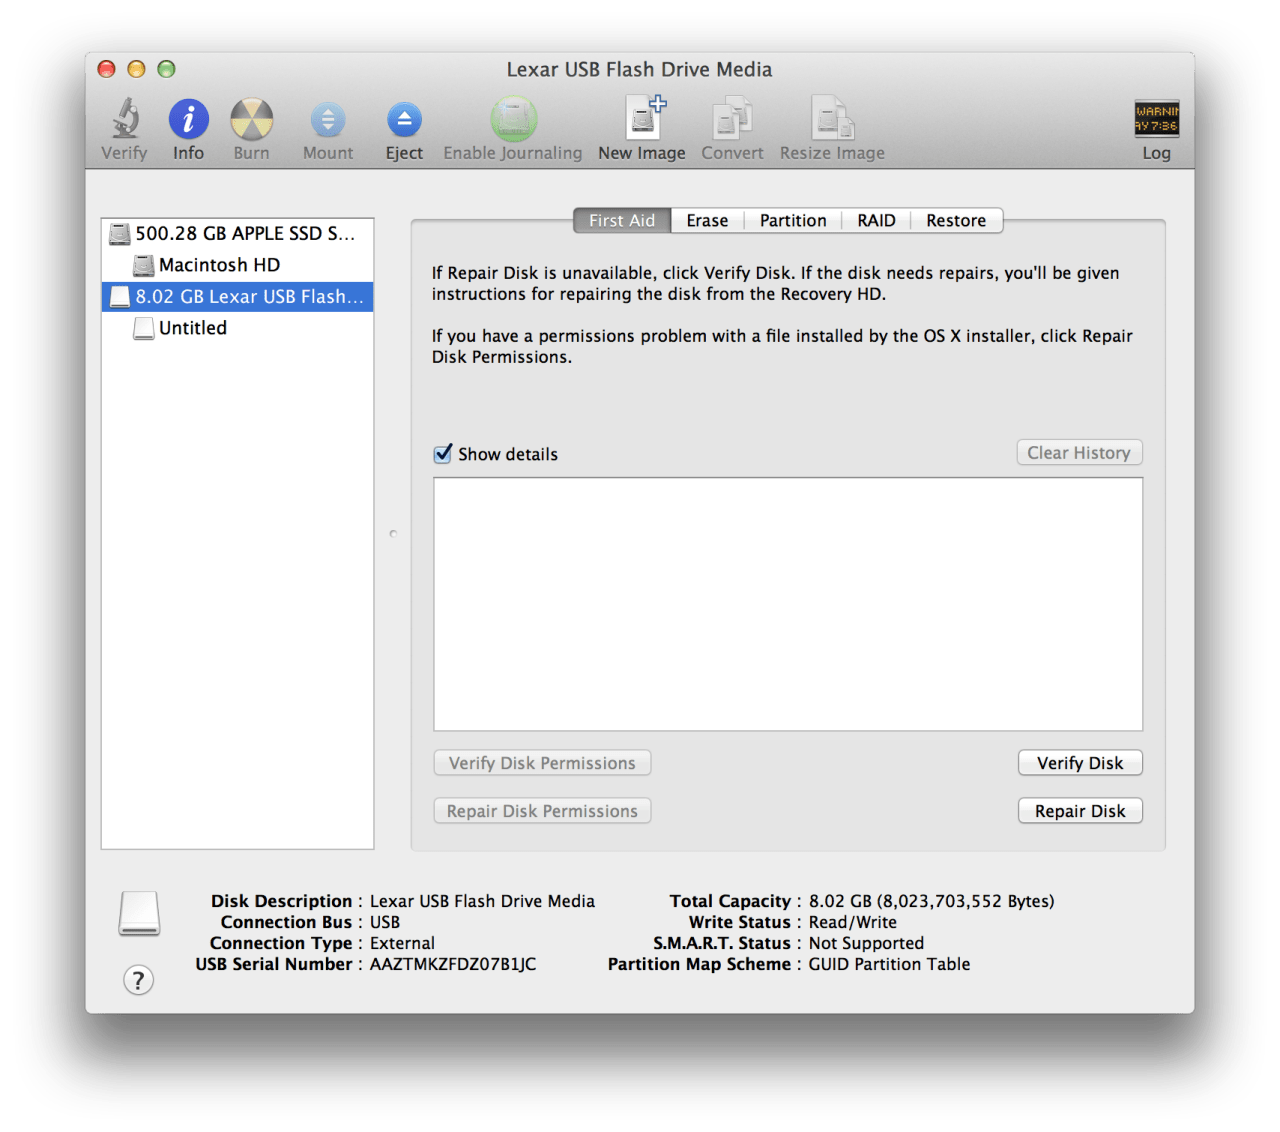
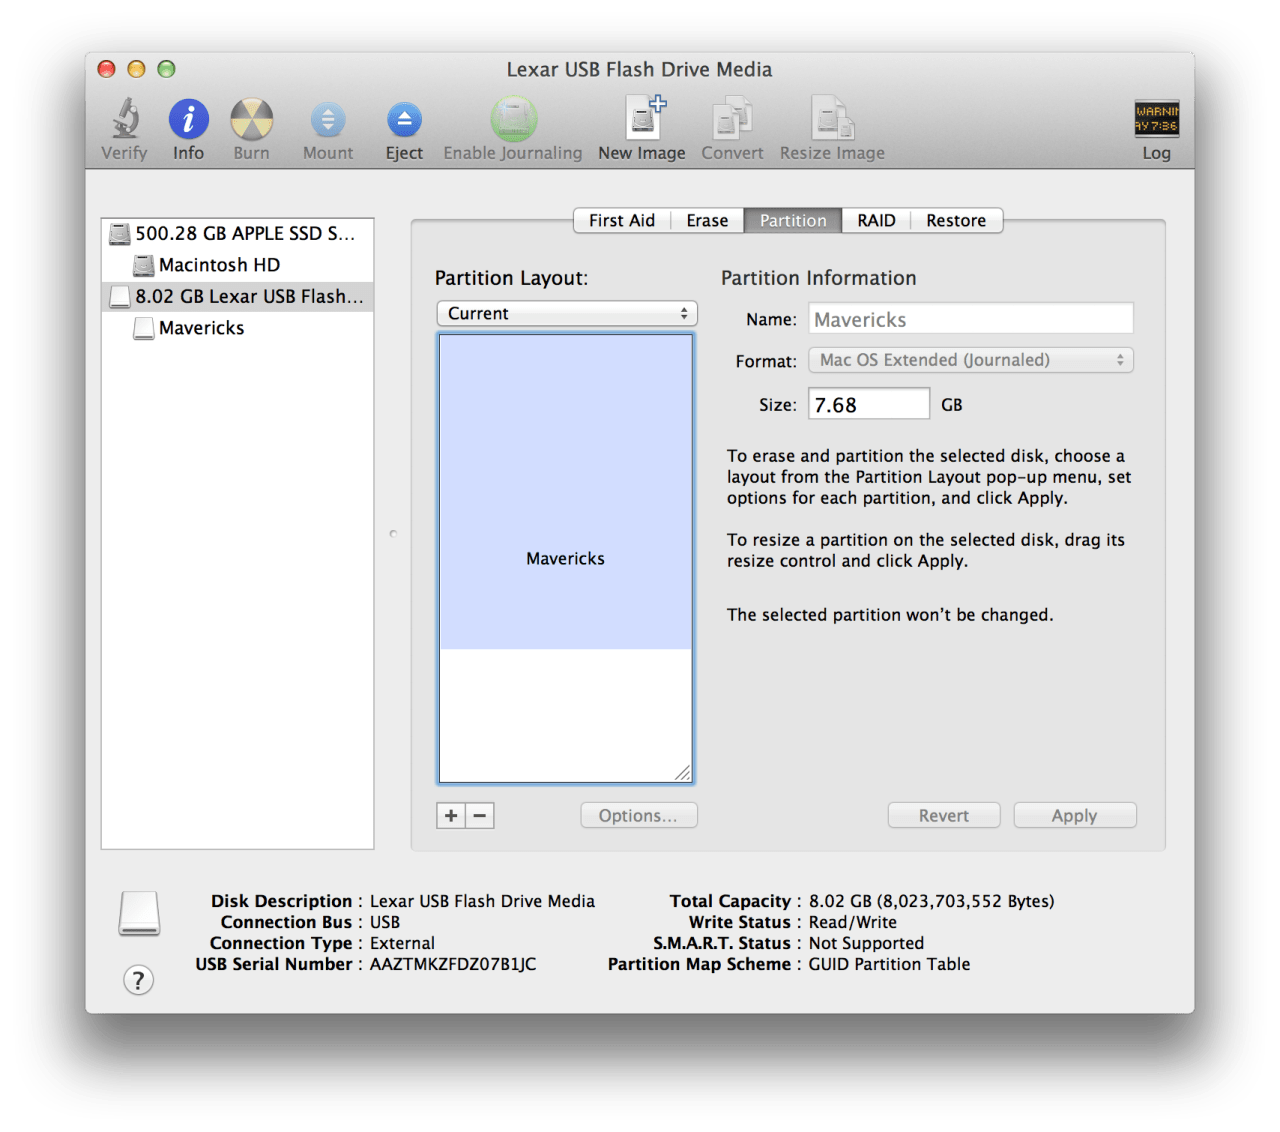
Select your USB thumb drive from the list on the left and click the Partition tab.
Step Five
Set the Partition Layout to 1 Partition, set the Name to 'Mavericks', and set the Format to Mac OS Extended (Journaled).

Step Six
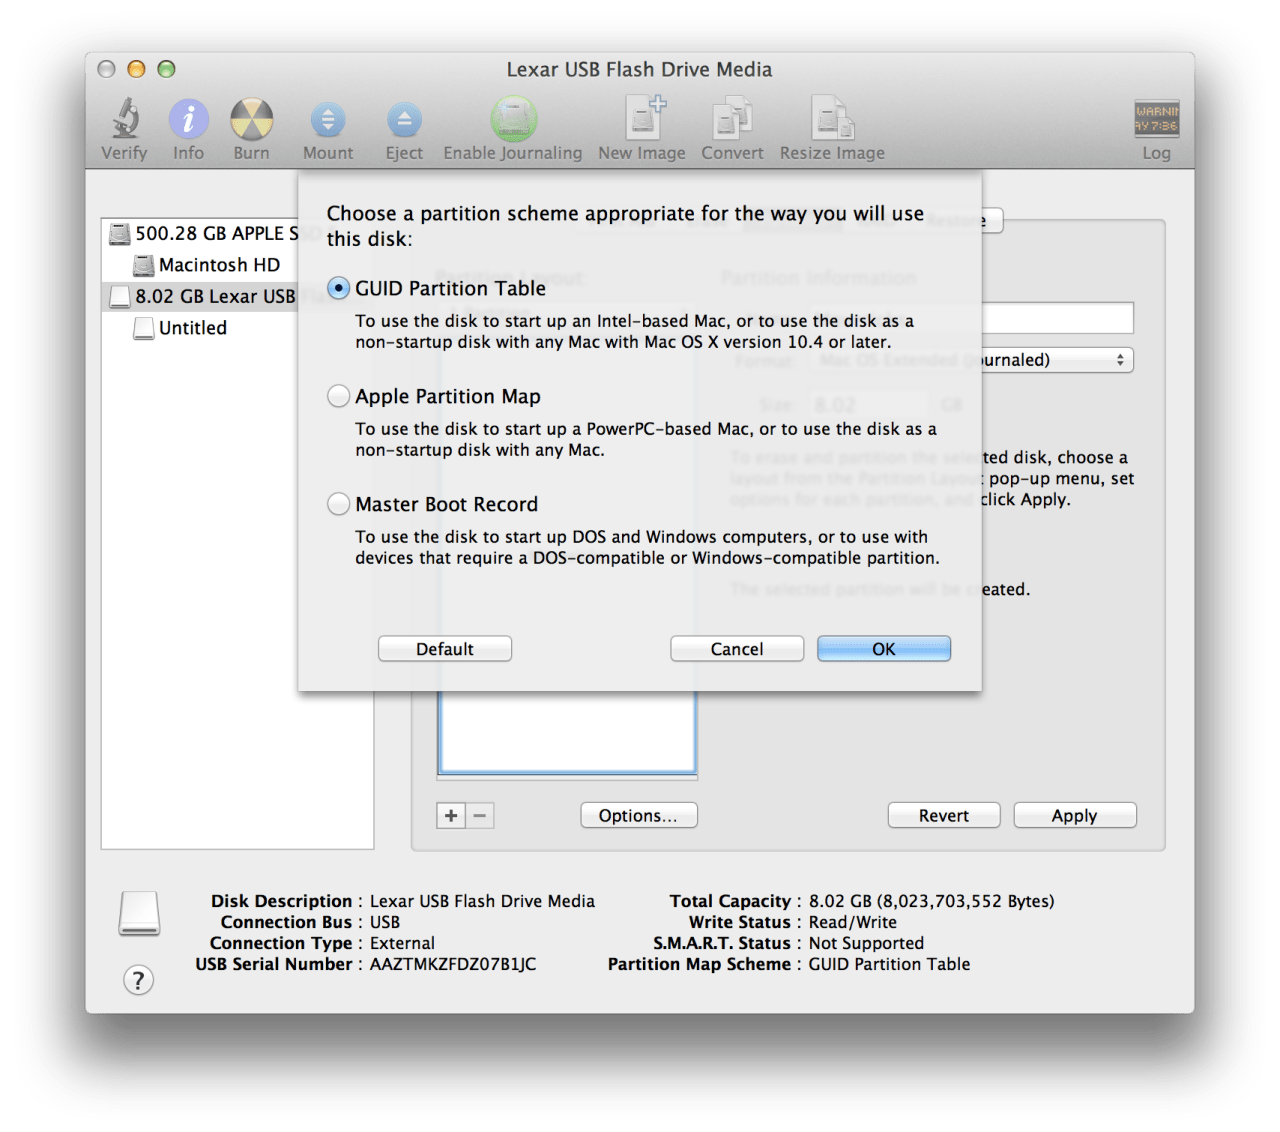
Click the Options button then choose GUID Partition Table from the popup window then click the OK button.
Step Seven
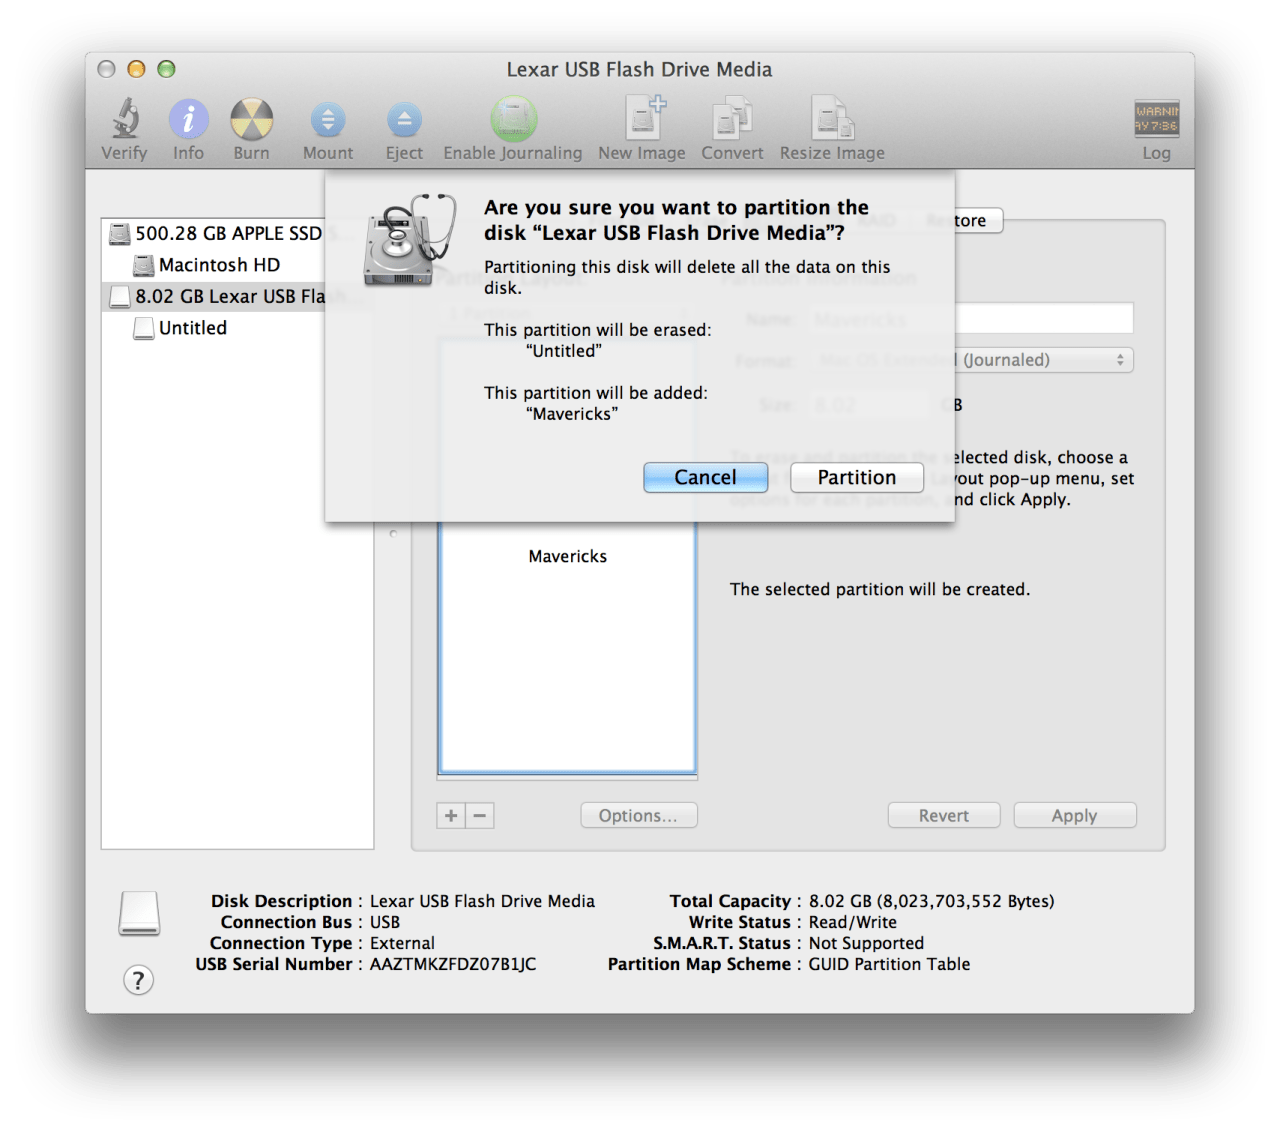
Next click the Apply button to save your changes. When asked to confirm click the Partition button.
Step Eight
Launch Terminal from the Applications:Utilities folder.

Step Nine
Make sure your empty USB key is still inserted. Additionally, make sure you do not have any other volumes named 'Mavericks' except for the one we just created in Step Five.
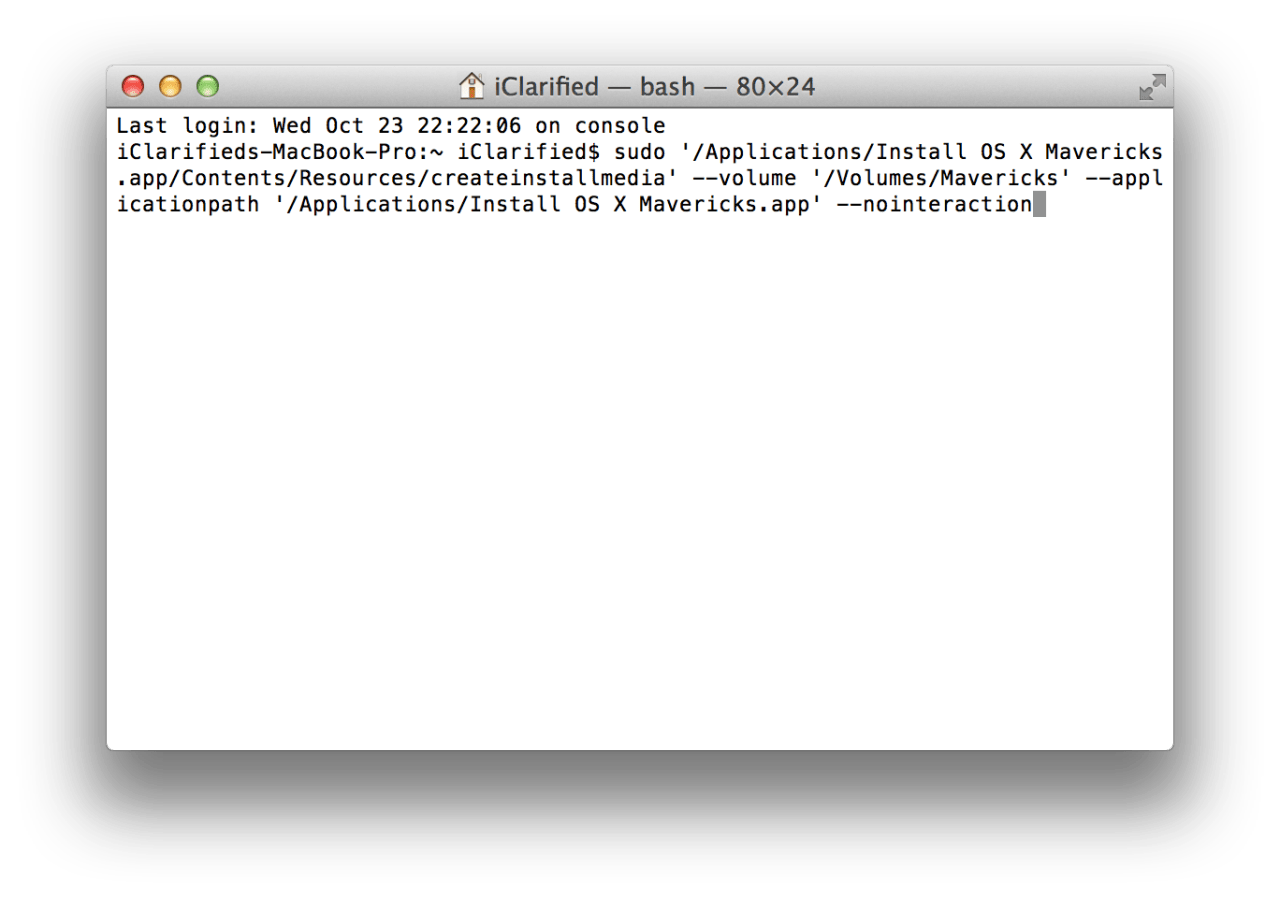
Execute the following command in the Terminal window to create your OS X Mavericks Install key.
sudo '/Applications/Install OS X Mavericks.app/Contents/Resources/createinstallmedia' --volume '/Volumes/Mavericks' --applicationpath '/Applications/Install OS X Mavericks.app' --nointeraction
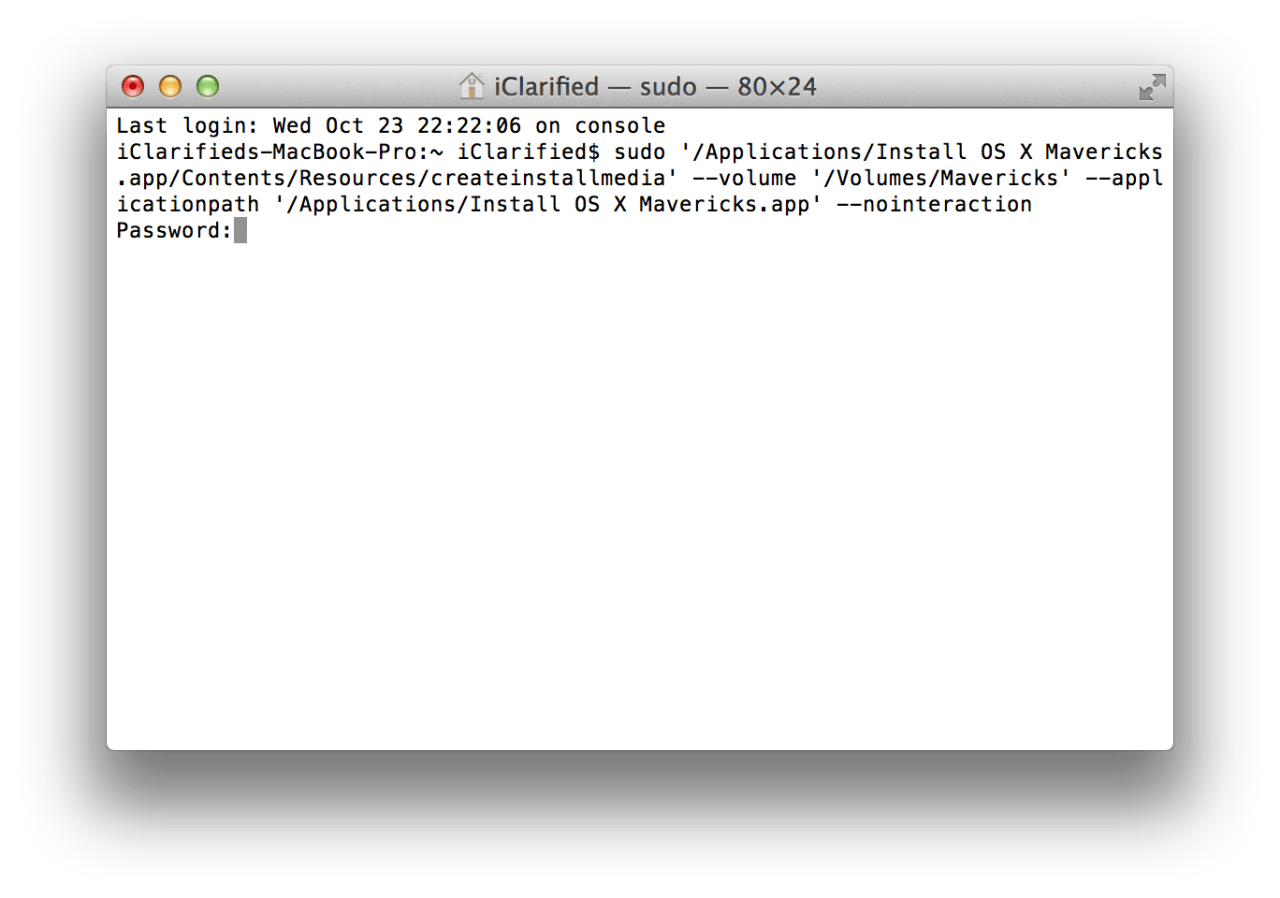
You will be asked to enter your Administrative account password.
Step Ten
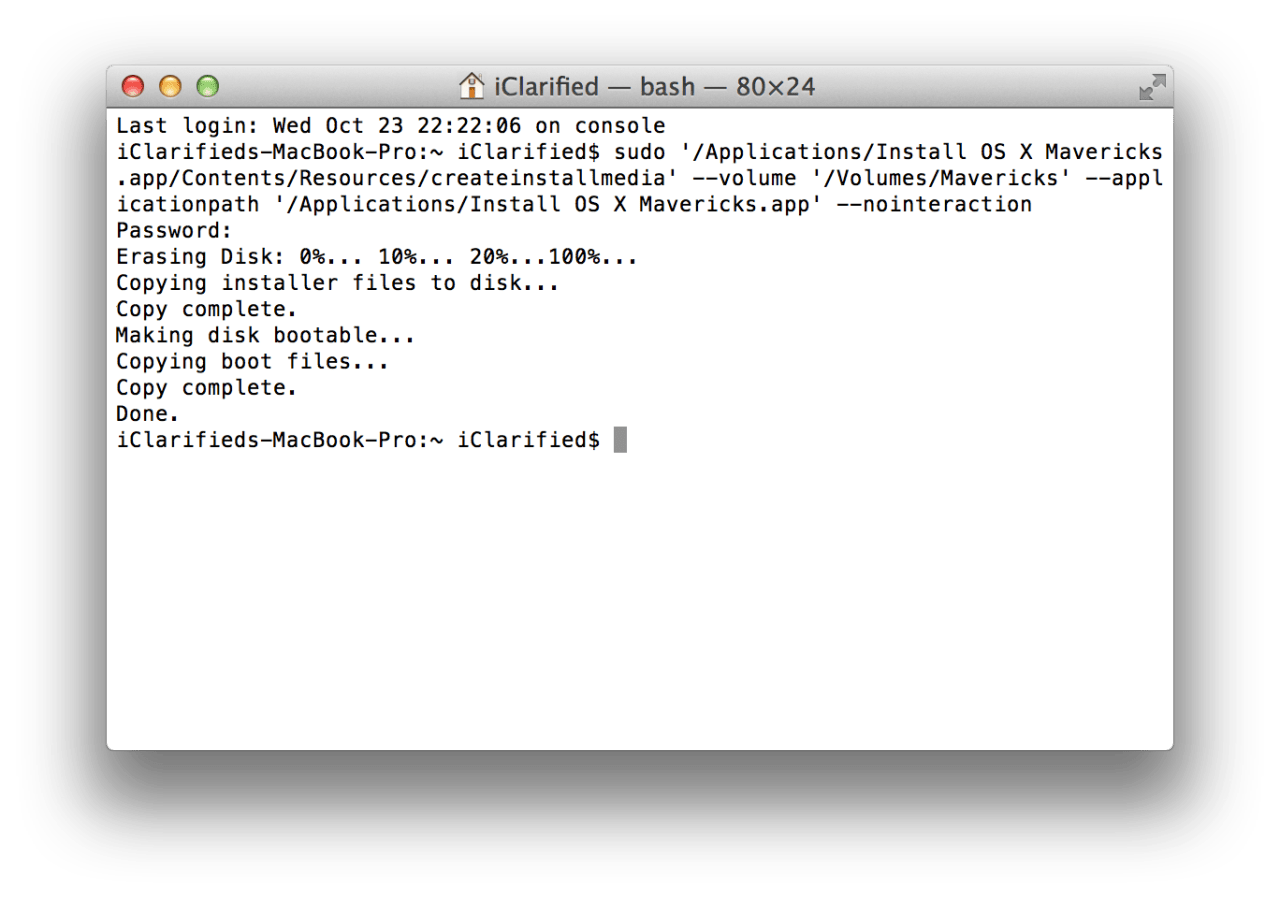
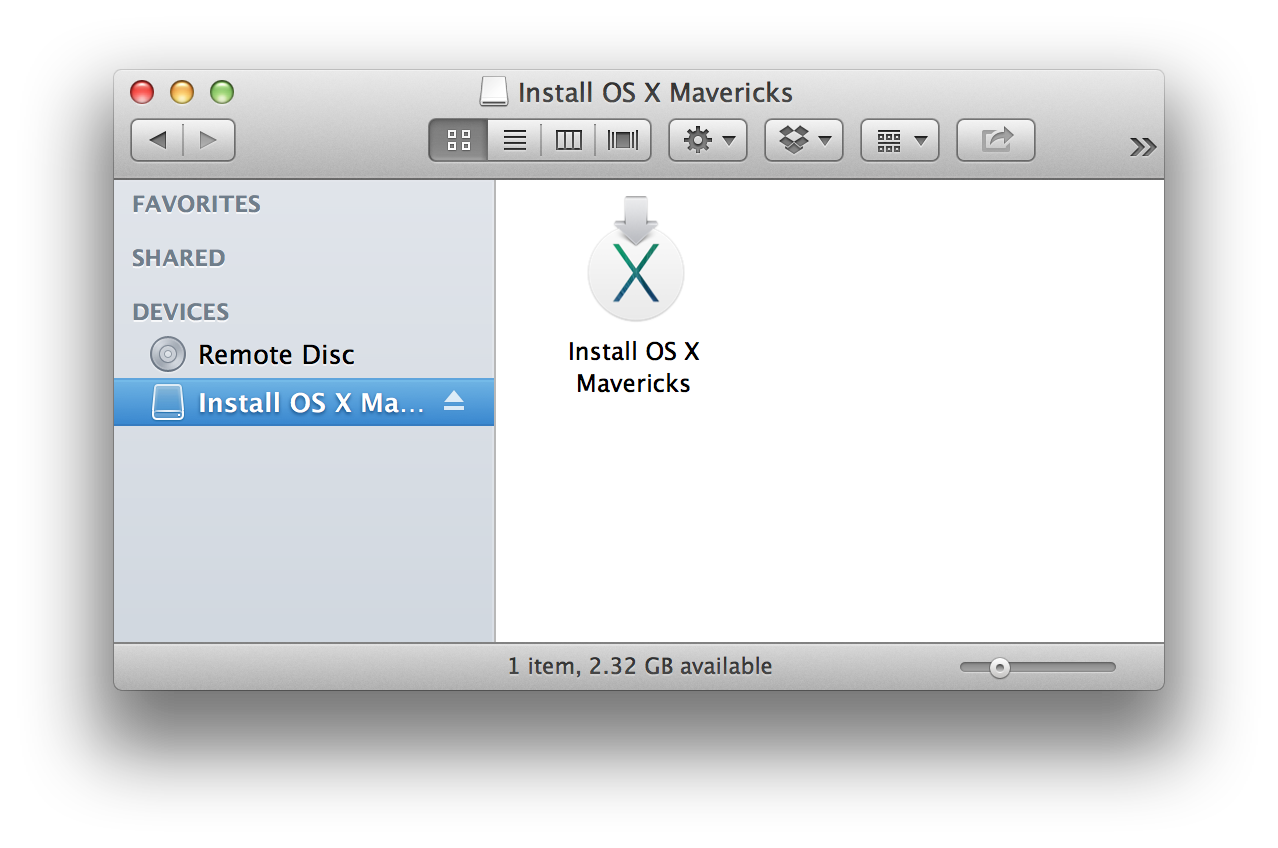
After about 15 minutes the creation of your USB Install Key for OS X Mavericks will be complete.
Step Eleven
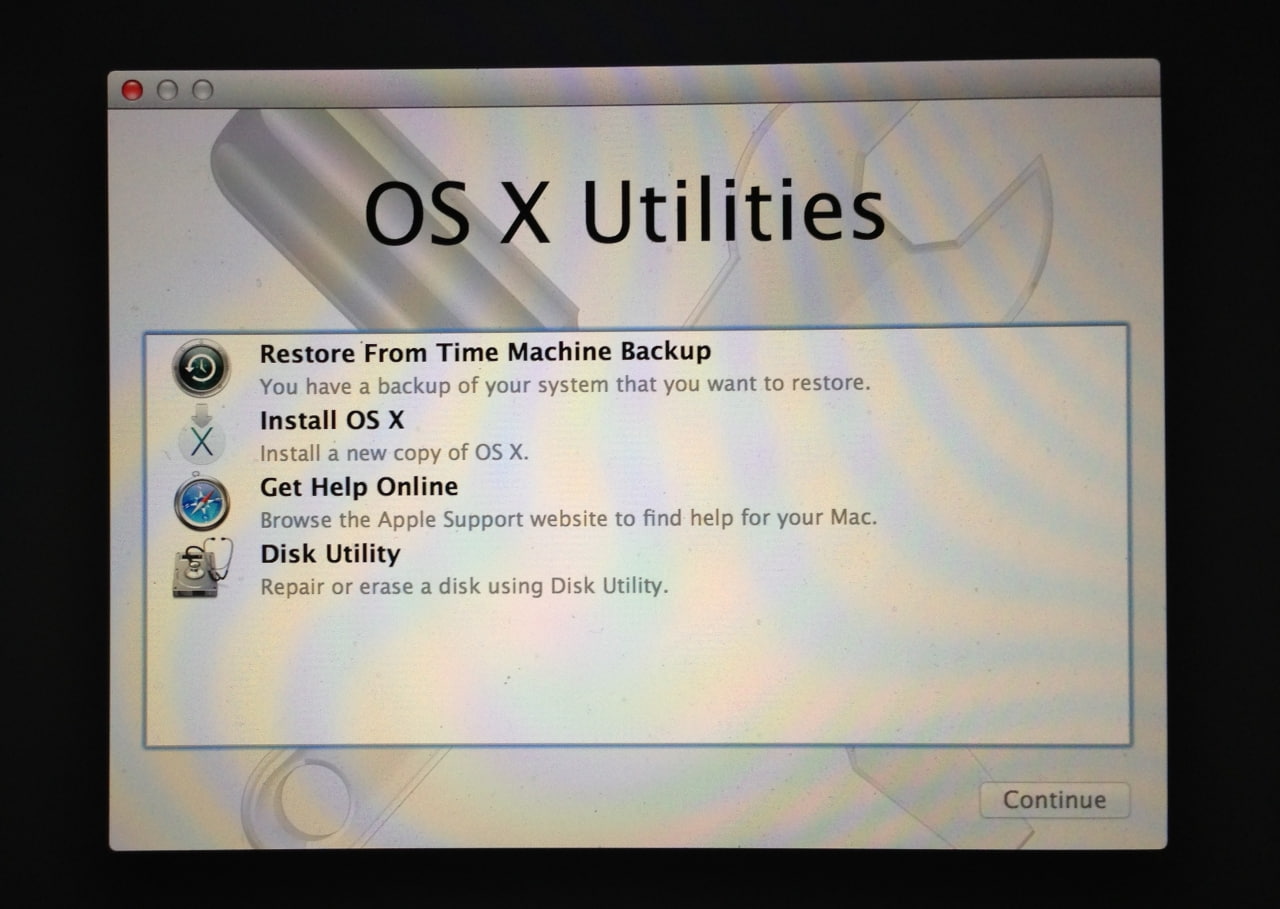
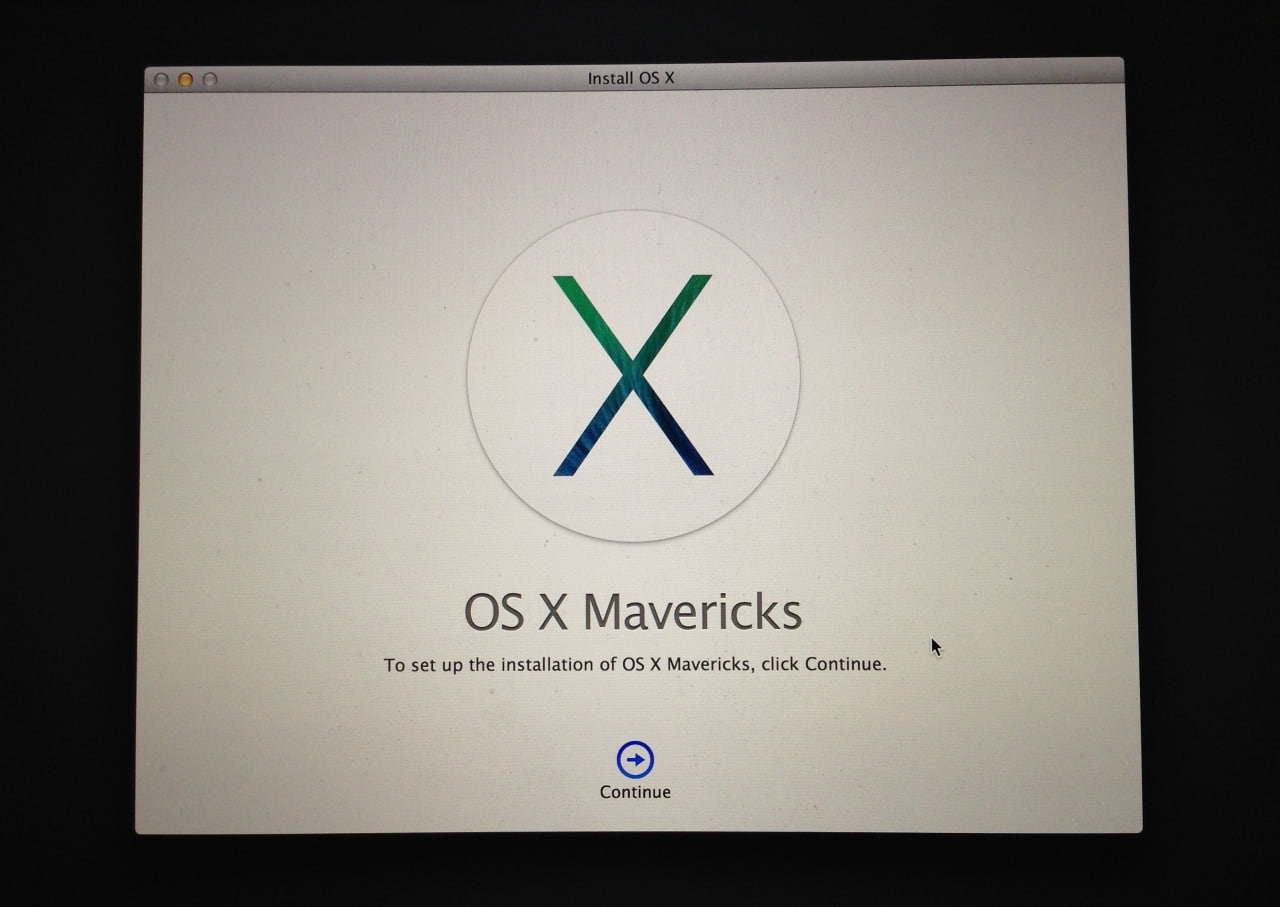
You may now restart your Mac and hold down the Option key after hearing the boot sound. You'll be presented with a list of bootable drives. Select the USB install key.

From: iC

Bắt đầu thực hiện nào.
Trả lờiXóaSau khi download xong, bộ cài MacOS X Mavericks 10.9 mặc định sẽ nằm trong thư mục Applications.
Nhấp chuột phải vào bộ cài, chọn Show Package Contents
Vào tiếp Contents => Shared Support => Nhấn đúp vào file InstallESD.dmg để mount file đó ra thành ổ đĩa ảo.
Mở Terminal lên và copy/paste đoạn code này vào: Tác dụng của dòng lệnh đó giúp hiện những file bị ẩn của hệ thống
Code:
defaults write com.apple.Finder AppleShowAllFiles TRUE;\killall Finder;\say Files Revealed
(nếu không hiện, bạn tách ra thành 3 dòng lệnh riêng biệt thử nhé)
Vào ổ được mount lúc này, bạn sẽ thấy file BaseSystem.dmg và thư mục Package
Gắn USB hoặc ổ cứng di động cần tạo bộ cài lên (lưu ý, toàn bộ dữ liệu trên USB sẽ mất)
Mở Disk Utility lên, chọn qua tab Restorevà làm như sau:
Source: nhấn nút Brouse rồi tìm đến file BaseSystem.dmg (nếu tìm không thấy thì nắm kéo file đó vào ô Source luôn nhé)
Destination: nhấn chuột phải vào USB phân vùng ổ cứng di động muốn tạo bộ cài , chọn Set as destination.
Nhấn nút Restore và ngồi đợi (khoản 1 đến 2 phút).
Khi quá trình Restore hoàn thành, bạn mở USB hoặc phân vùng ổ đĩa di động lên, vào System => Installation => Xoá file (alias) Pakages
Tiếp theo, lại vào ổ mout lúc nãy, copy nguyên thư mục Packages vào đúng vị trí file alias vừa xoá ở trên.
Đến đây thì việc chuẩn bị USB chứa bộ cài đặt MacOS X Mavericks 10.9 đã hoàn thành. Khởi động lại máy tính và nhấn nút Option (alt) và chọn boot từ ổ cài chứa bộ cài vừa tạo, tiến hành cài đặt nhé.